Modifying a Baofeng 888s for Allstar, an illustrated guide.
This article covers how to modify a Baofeng 888s radio for use in an Allstar node. This particular radio is commonly used in Allstar nodes, in fact, it really lends itself to this purpose.
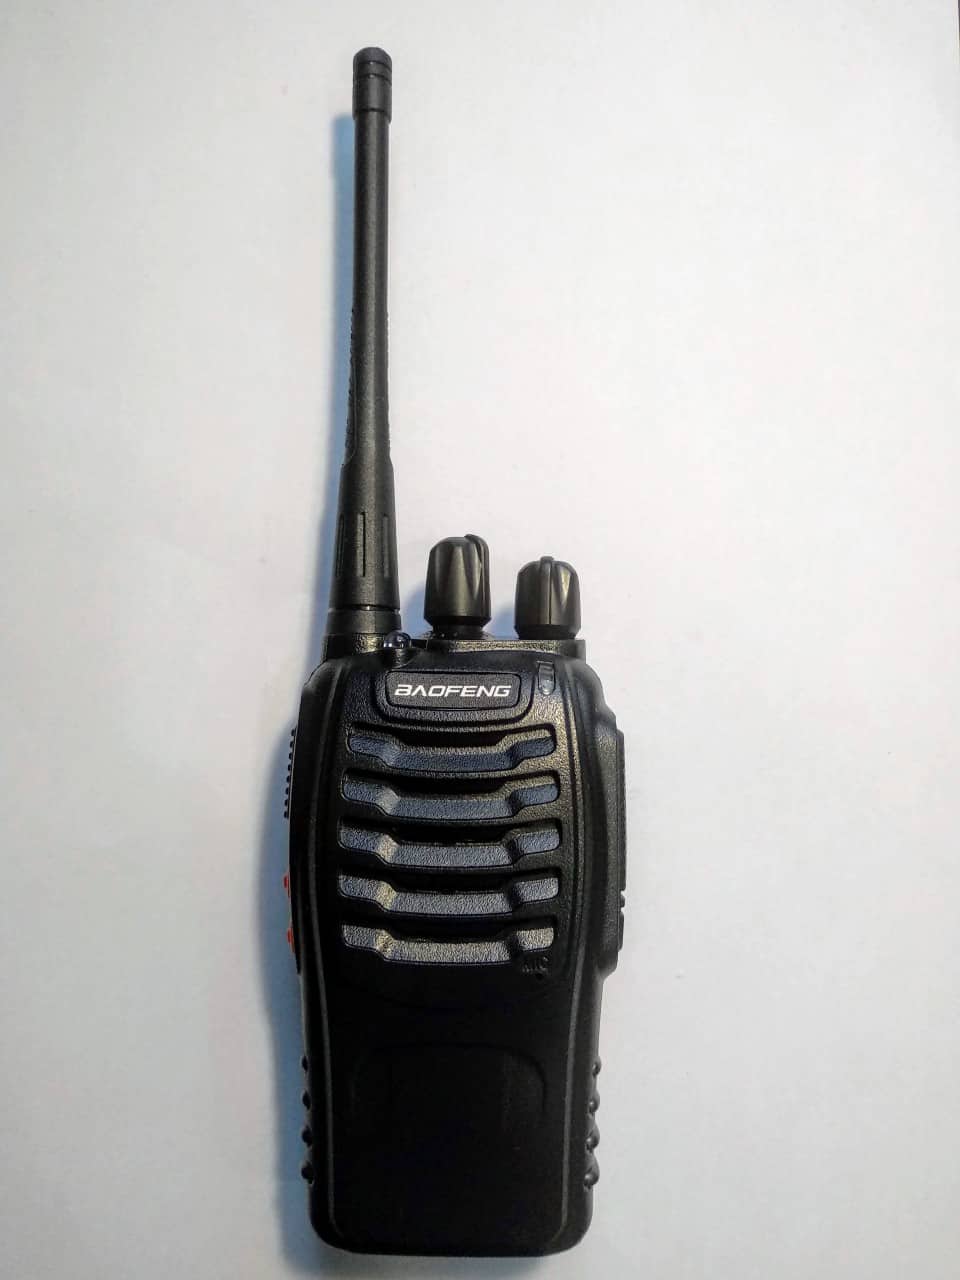
The venerable Baofeng 888s.
Step 1: Get the right programming cable.
Before you can do anything you need to connect to your Baofeng 888s to program it for your needs. For this you need a cable, the two prongs fit into the earphone and mike sockets on the radio and the other end connects to your computer via USB.
These cables do not cost much, you can get them from the likes of eBay and Amazon. Do yourself a favor, avoid the very cheap ones but get one with a Genuine FTDI Chipset built-in.
They can all be made to work, including the very cheap ones with the supplied driver disk, but this can be a frustrating experience. The better ones just plug and play.
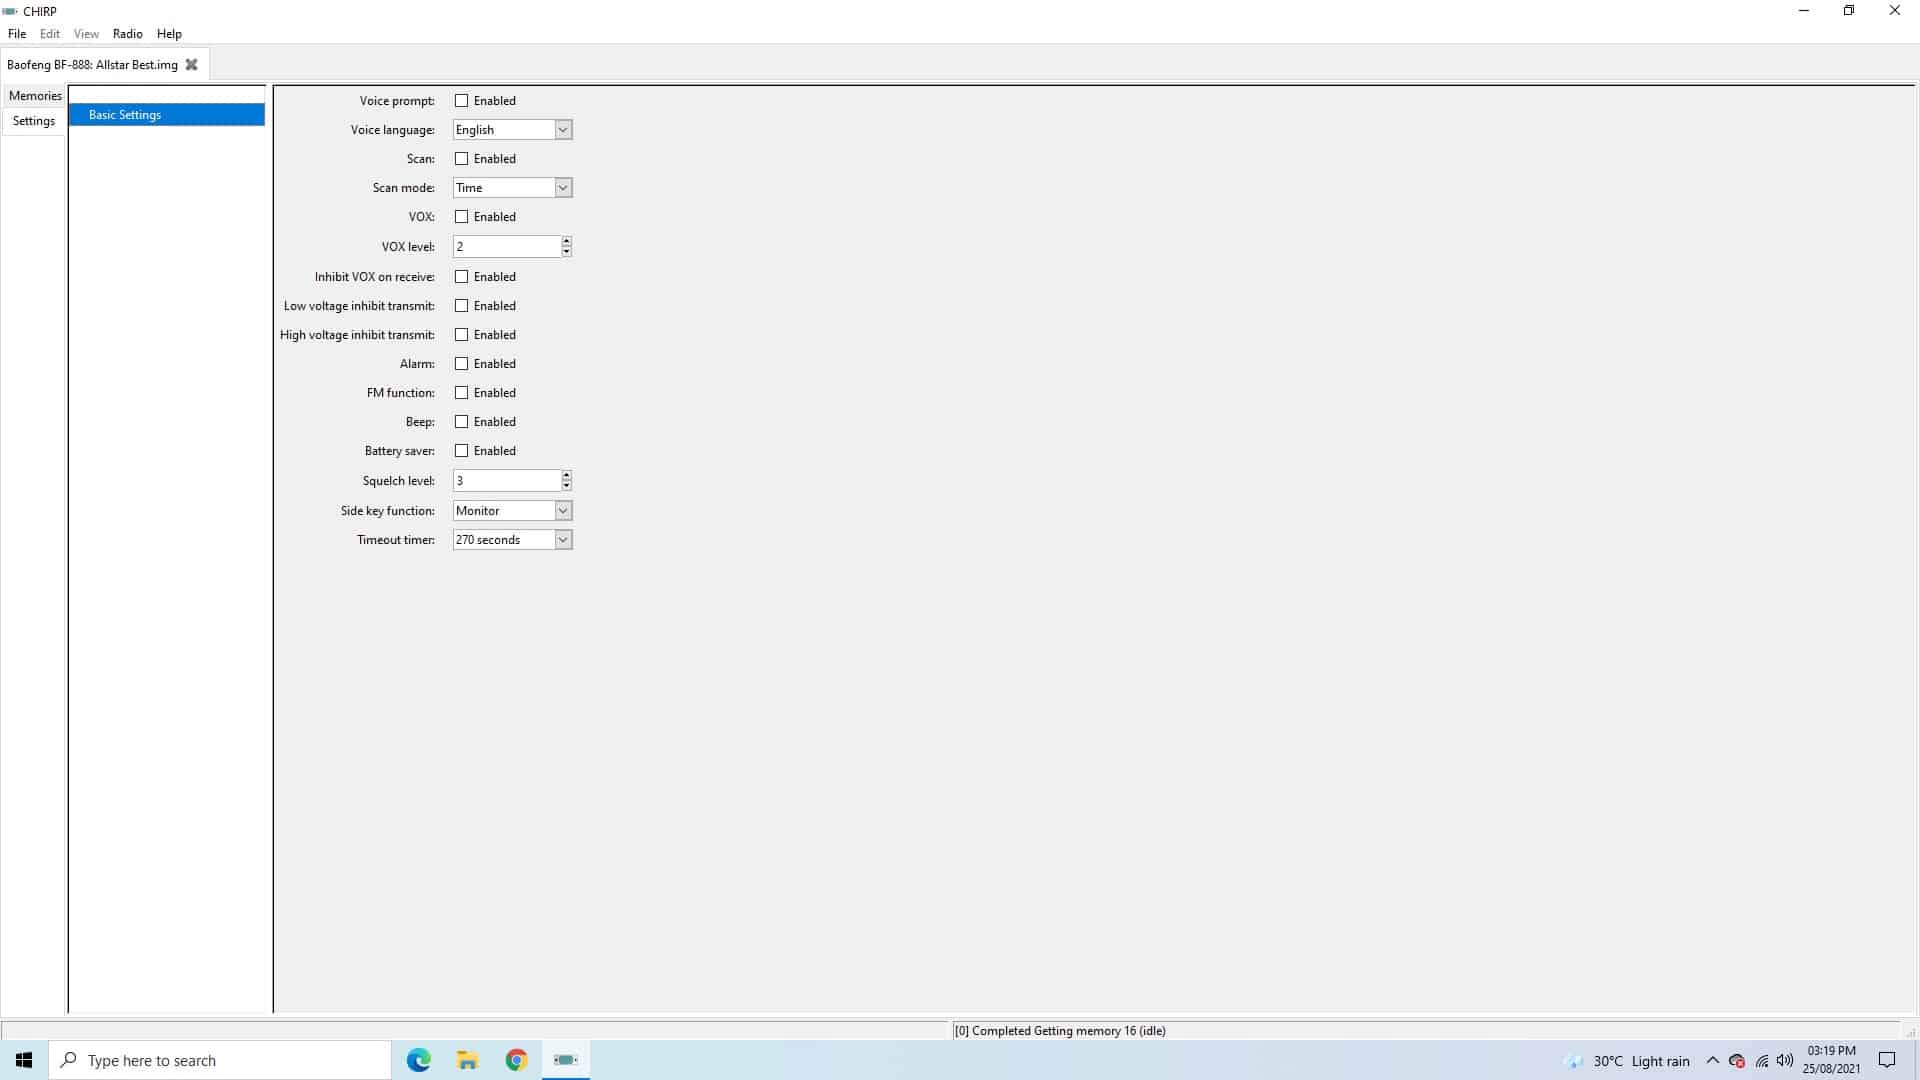
Step 2. let's program the radio with the Chirp program..
Click to enlarge
Click to enlarge
When you you buy a Baofeng BF888s you will find that it has already been programmed and filled with various channels. None of these channels is suitable for amateur radio use and some of them could get you into trouble if you were to ever transmit on them!
So your first task is to program your radio with a suitable frequency or frequencies within the amateur band for your country and a CTCSS or another code is desirable. You can see my own take on this above. But the details are up to you.
Equally important is the settings tab, make sure that the voice prompts are not set to on, and most of the rest should be disabled as well. See image 2 above.
You should do this before you try and modify the radio itself as it may not be possible later on. a good tip is to first download what is on your new radio, then amend it to your requirements and upload it again. Then save this template for the same batch of radios.
With chirp and programming, Miklor is your friend: www.miklor.com
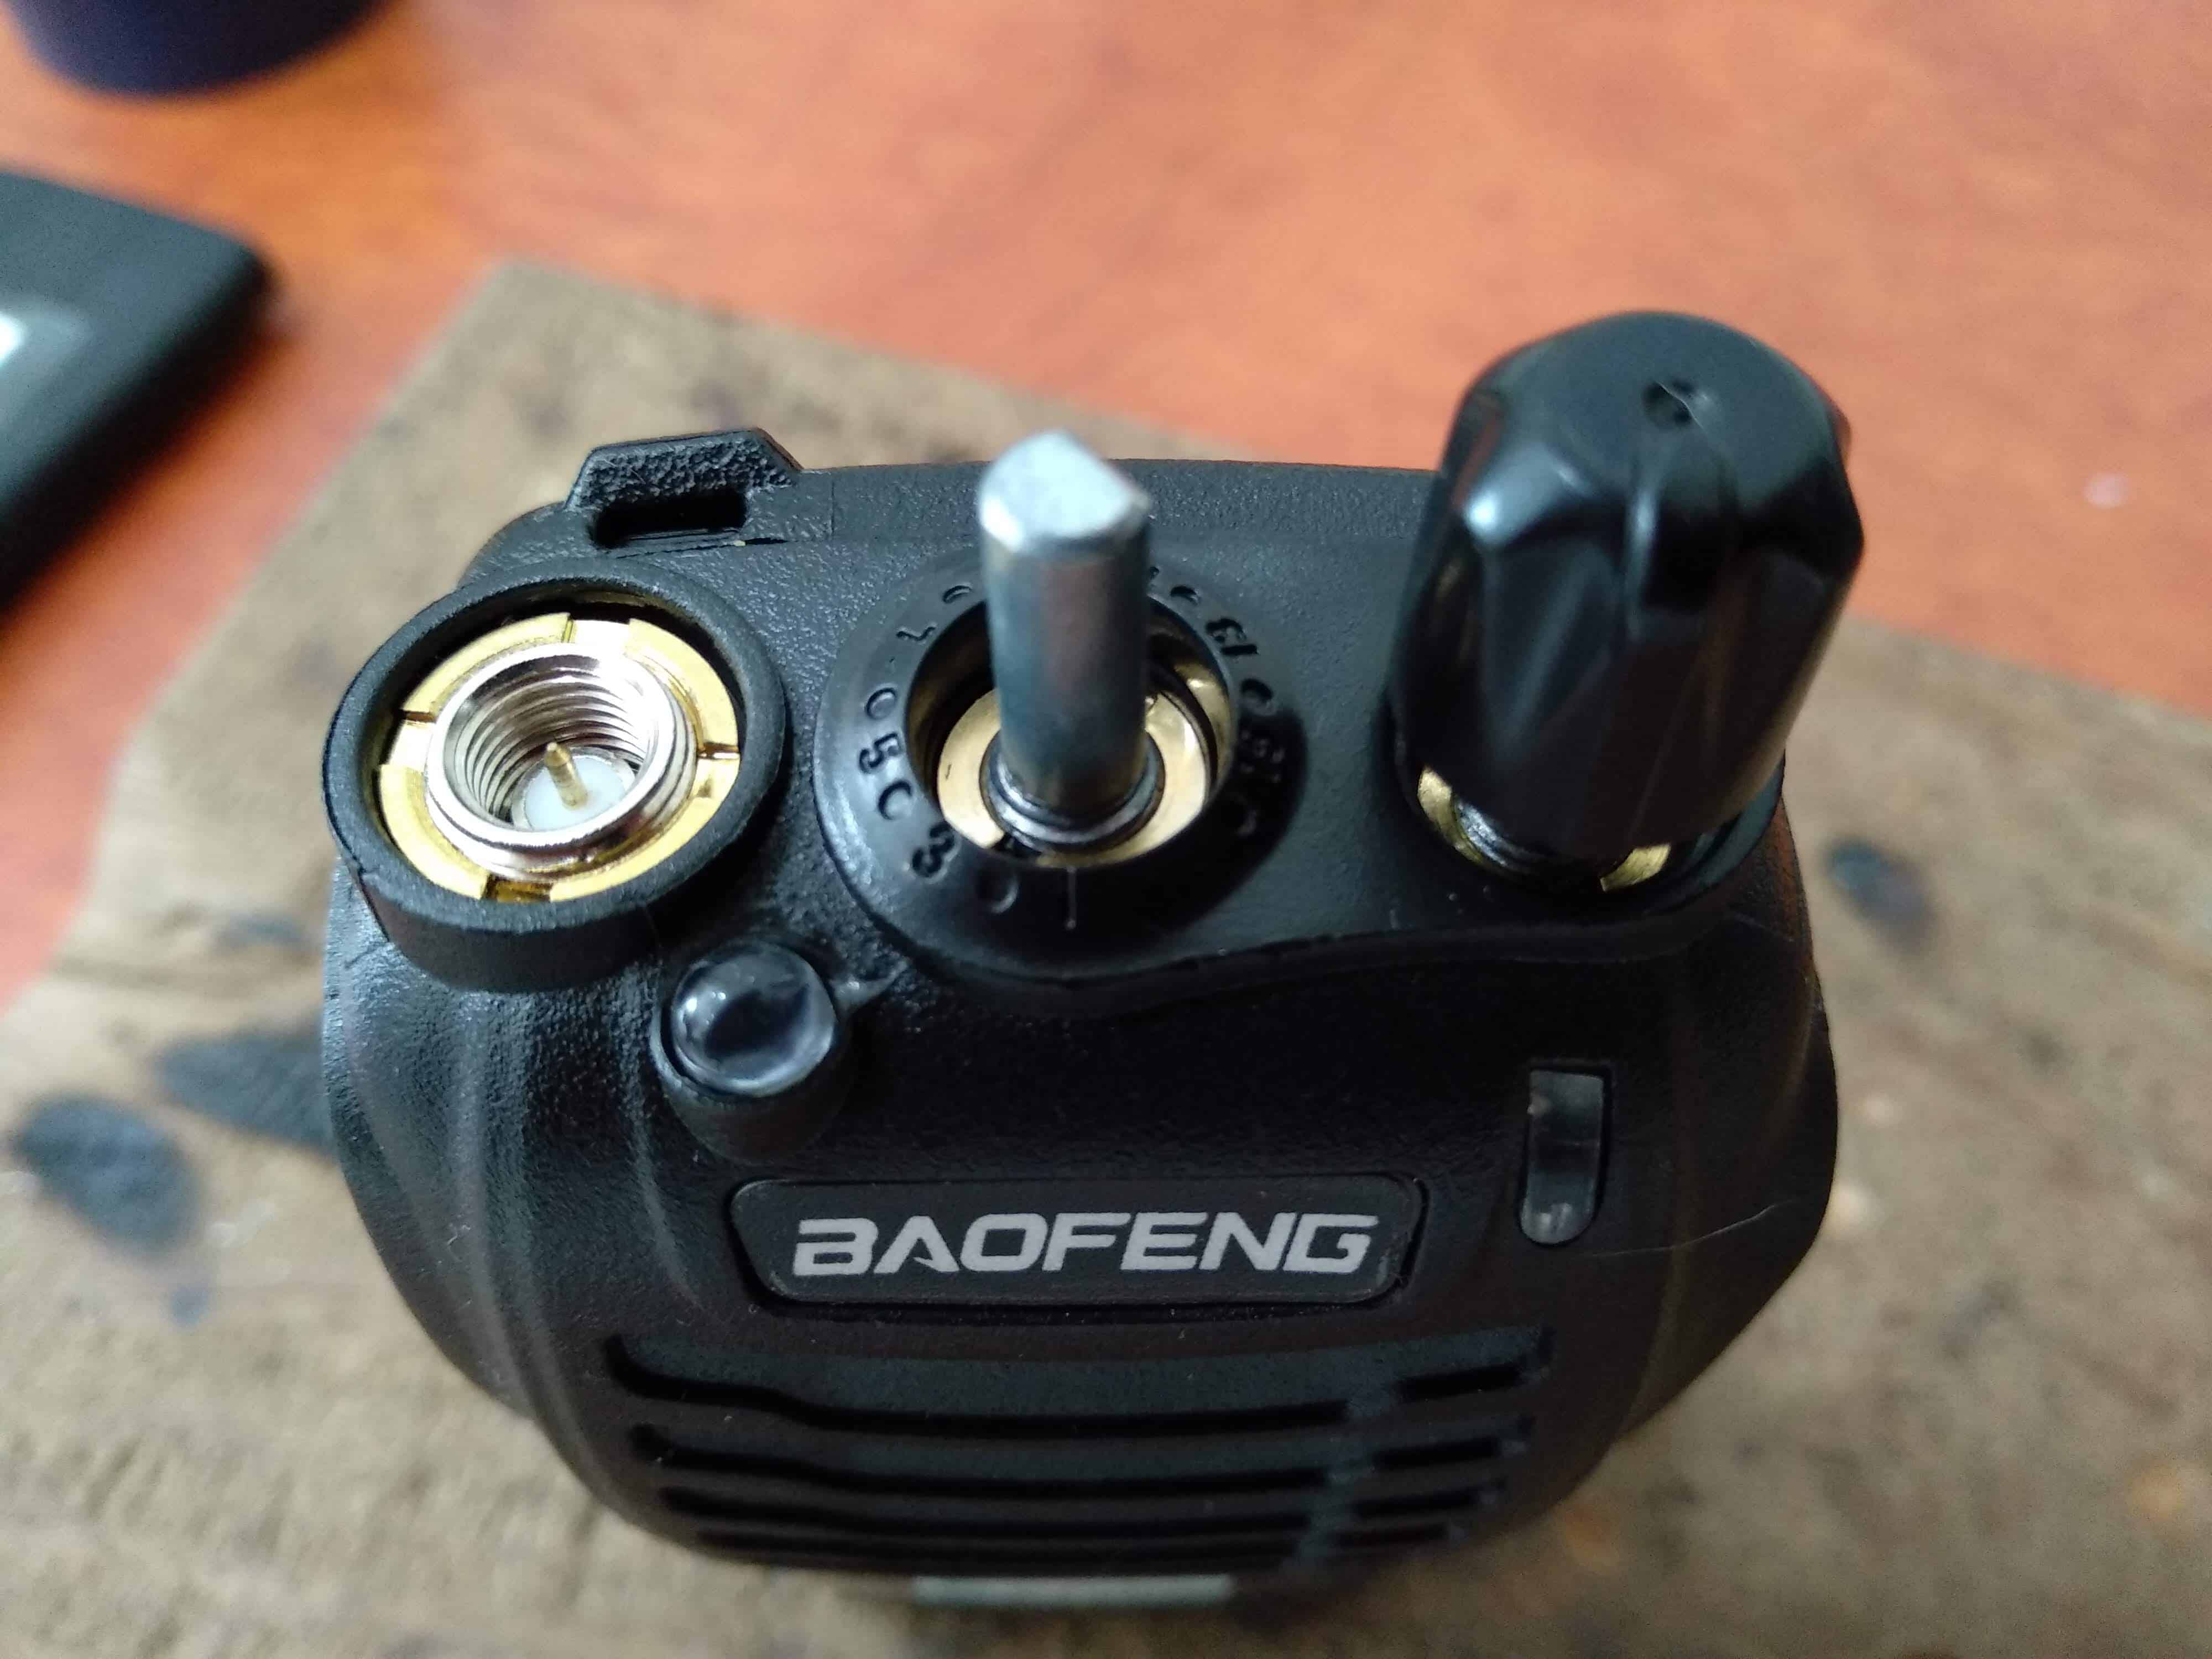
Step 3: let's modify the hardware.
Remove the antenna, battery and belt clip.
Then gently prise of the two knobs with a flat blade screwdriver. This will expose three brass rings, gently unscrew them again using a small flat blade screwdriver.
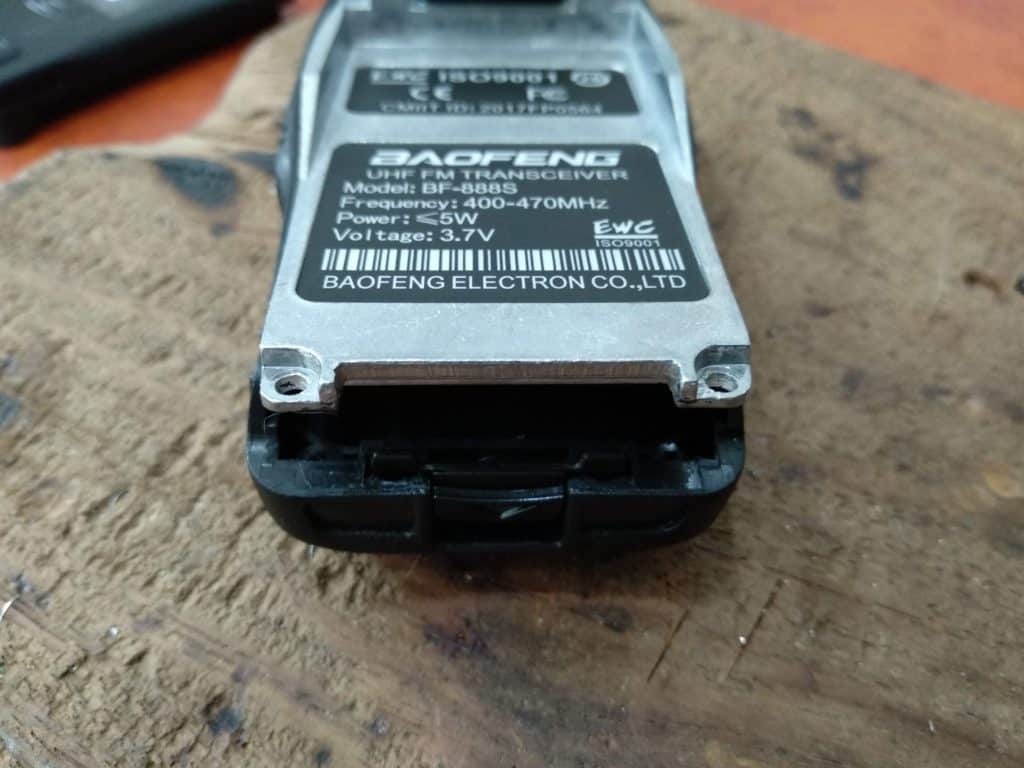
Remove the two screws at the bottom of the metal heat sink using a T9 Torx screwdriver.
Then gently pull the heat sink forward to expose the circuit board on the other side. If you detach the speaker wires in the process then this is not a problem, they are coming off anyway.
Click to enlarge.
Remove the large LED, the microphone, and the two speaker wires, these are all marked in red above, just snip them off, no need to desolder.
Then using a desolder pump desolder the lower point marked in blue, this has an upright, make sure that this is clear. Finally, remove all the retaining screws visible on the board this should now be able to gently lift the board free of the metal heat sink so you can access the underside.
Click to enlarge
With the latest boards that I am seeing there is no need to desolder the upper blue point where the antenna socket fixes to the board. This will just easily lift off.
Now you can turn the board over to attach the COS wire to the leg of the IC chip on the underside of the board as shown above.
Click to enlarge.
I always use white wire, it is good practice to color code the wires in some way for this sort of project, it makes things easier later on.
To attach the COS wire, cut it to a suitable length of thin wire, strip a small amount of the insulation from the end to expose the bare wire, apply flux, and tin it really well. Then apply flux to the IC leg in question, if you have a steady hand just hold the wire in place, if not then temporarily fix it in some way and then apply around two seconds of heat from your soldering iron to attach the wire to the leg of the IC.
Important:This is the time to carry out the low power modification if you want a ” hot spot ” type node. Check this link for details: LINK
This concludes this section on how to modify a Baofeng 888s radio for use in an Allstar node.
Click to enlarge.
All that remains for you to do now is to reassemble the radio, put all the screws back in and solder up any points { Or point } which you previously desoldered, and the unit is now ready to be inserted into whatever type of node you are building. You may want to file up a notch in the metal heat sink to allow the white Cos wire to come through without being impeded.
The above photo shows the modified radio connected up in one of my nodes.
Follow this link for details of the modified sound fob that it is connected to: LINK