You can build an Allstar node like this for less than $100.
There are many variations of this design being used on Allstar these days, many have been in service for a number of years.
It is popular because of its simplicity, and because it utilizes both the cheap and reliable Baofeng 888s radio and the sturdy CM108 sound fob.
Click to enlarge
Click to enlarge
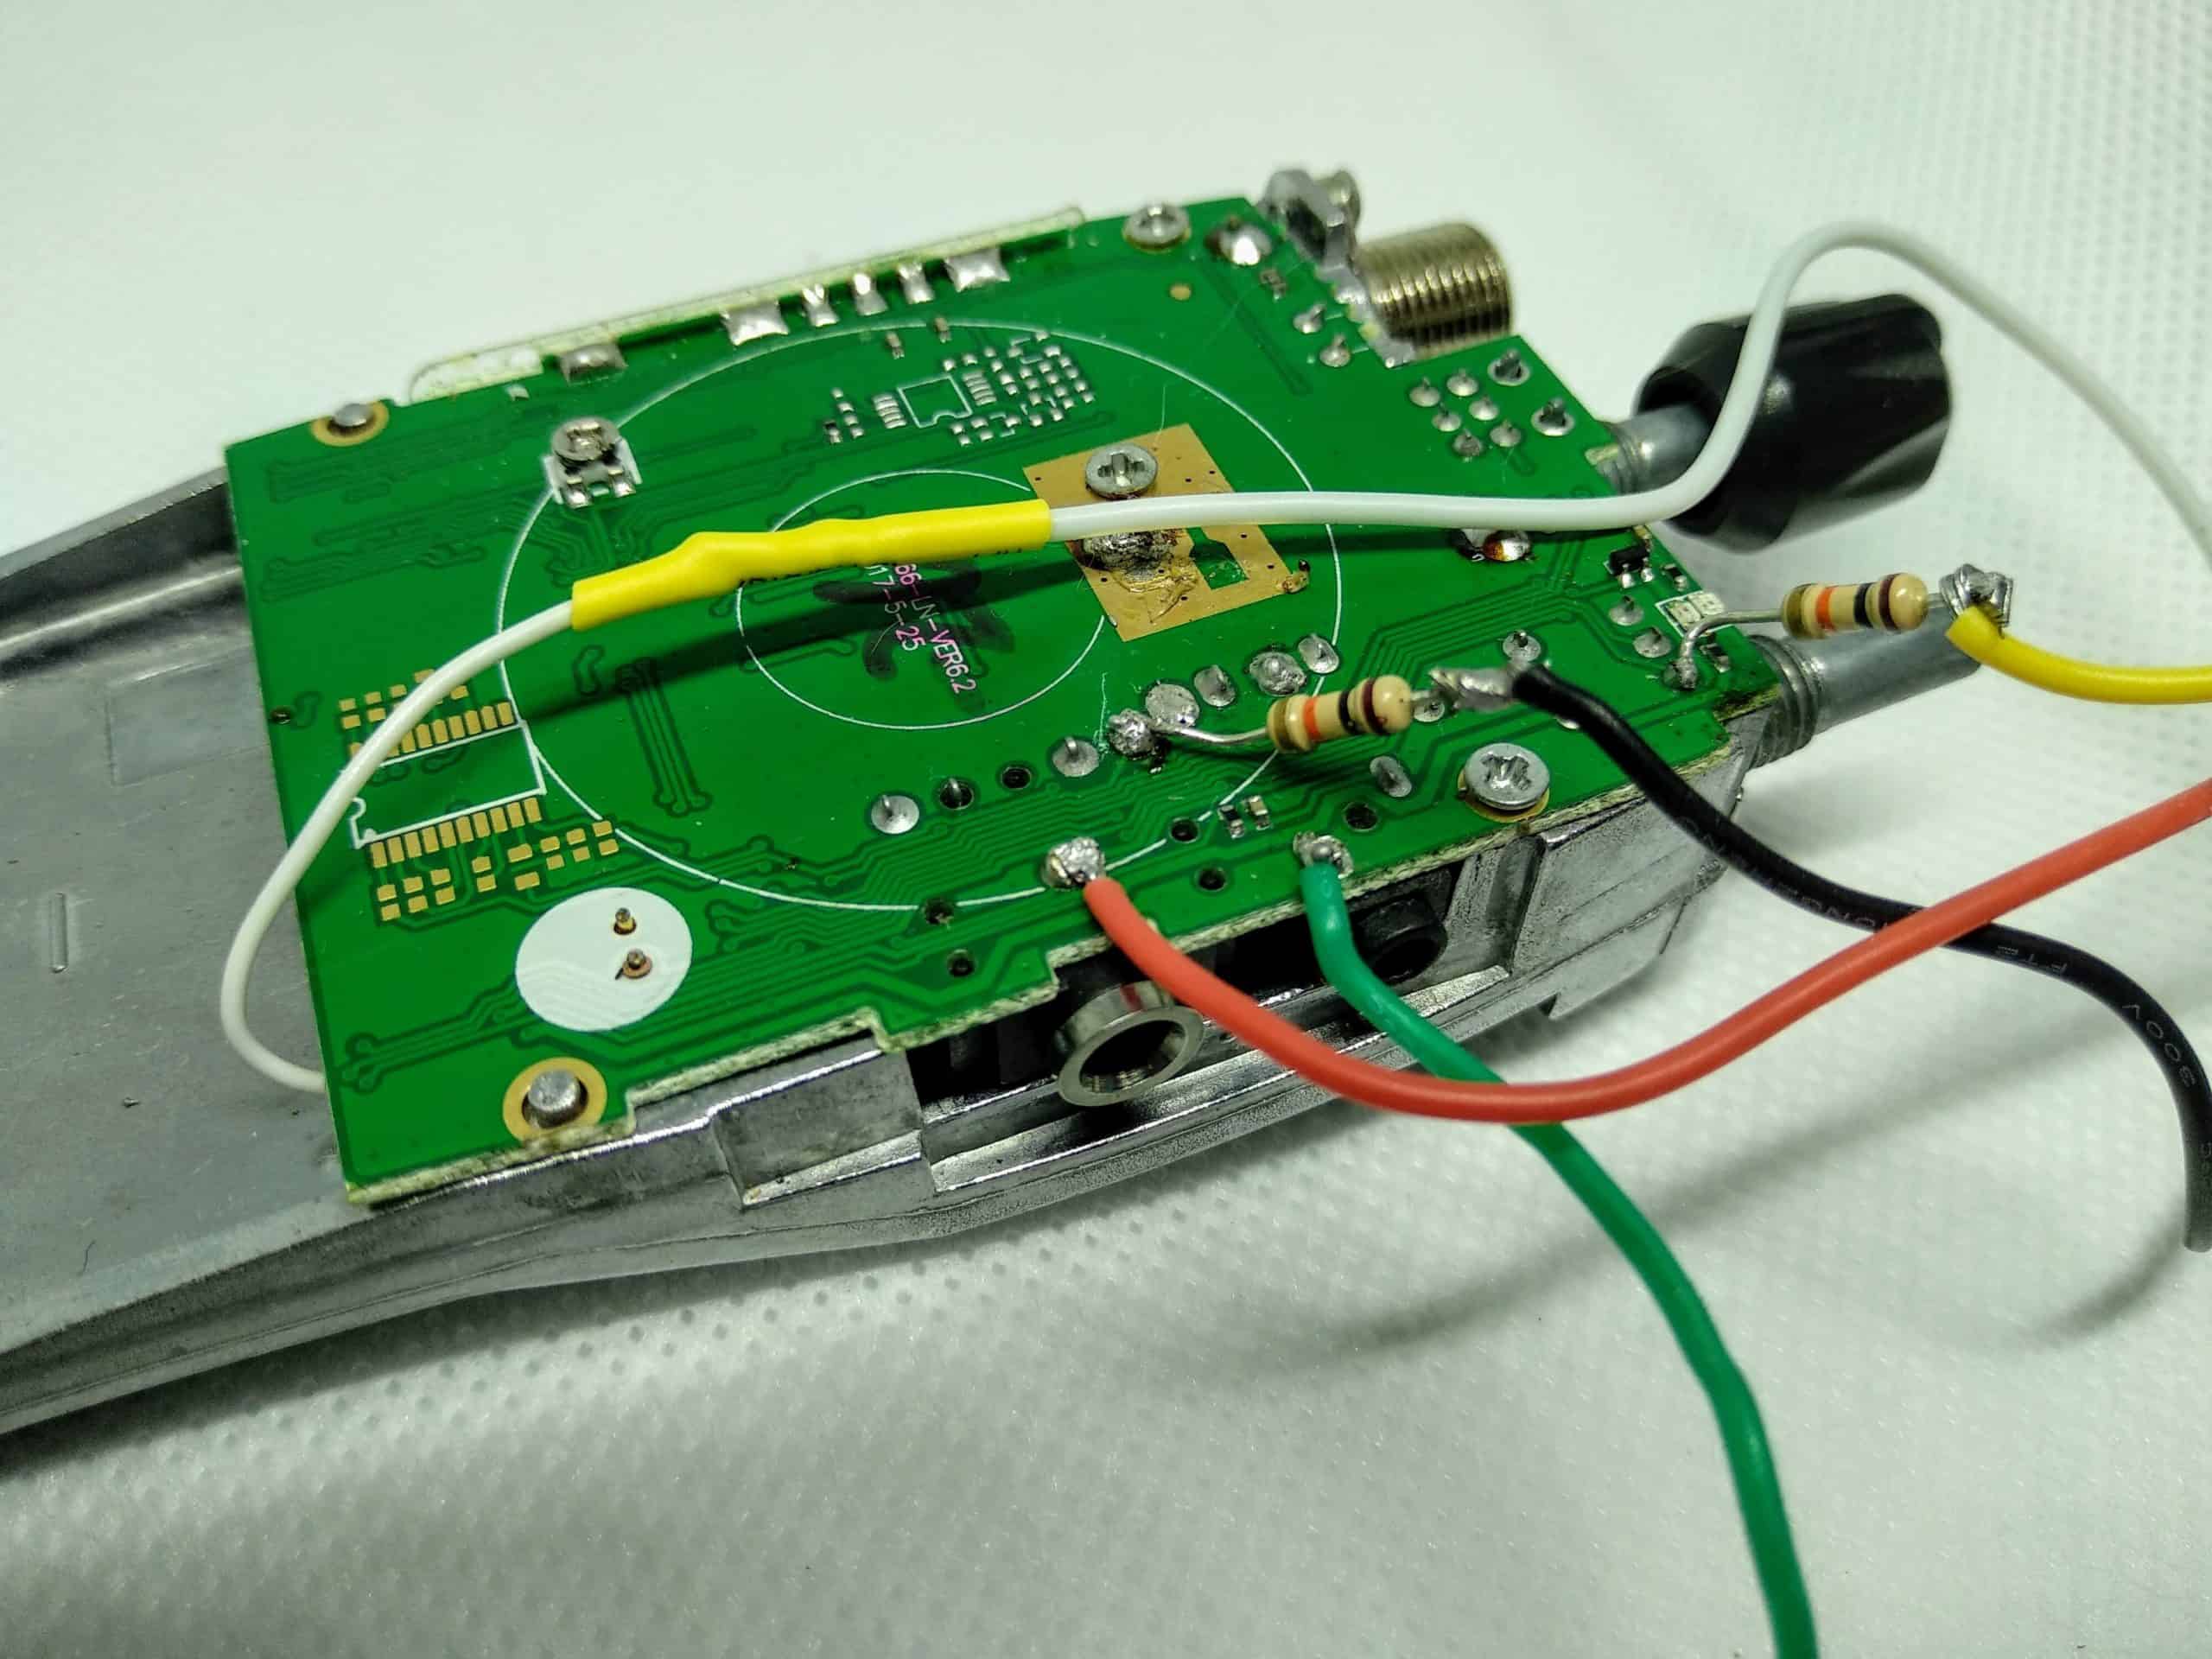
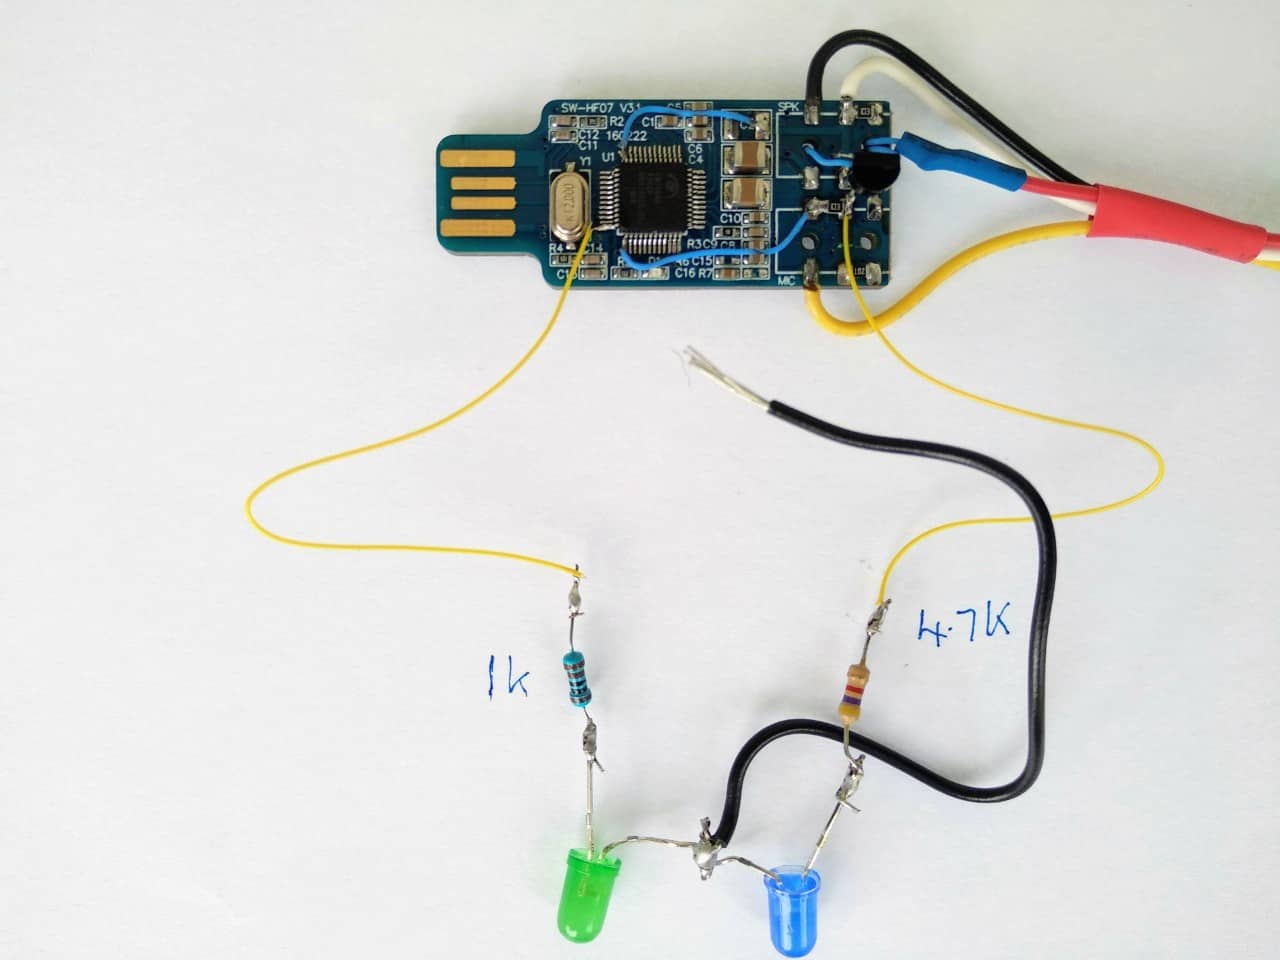
Above are the connection details for the wires from the CM108. in this case, the green wire is the ground wire which will attach to the Raspberry Pi USB housing. There should only be one ground wire to the Baofeng 888s to avoid ground loop hums.
The two resistors are both 10K.
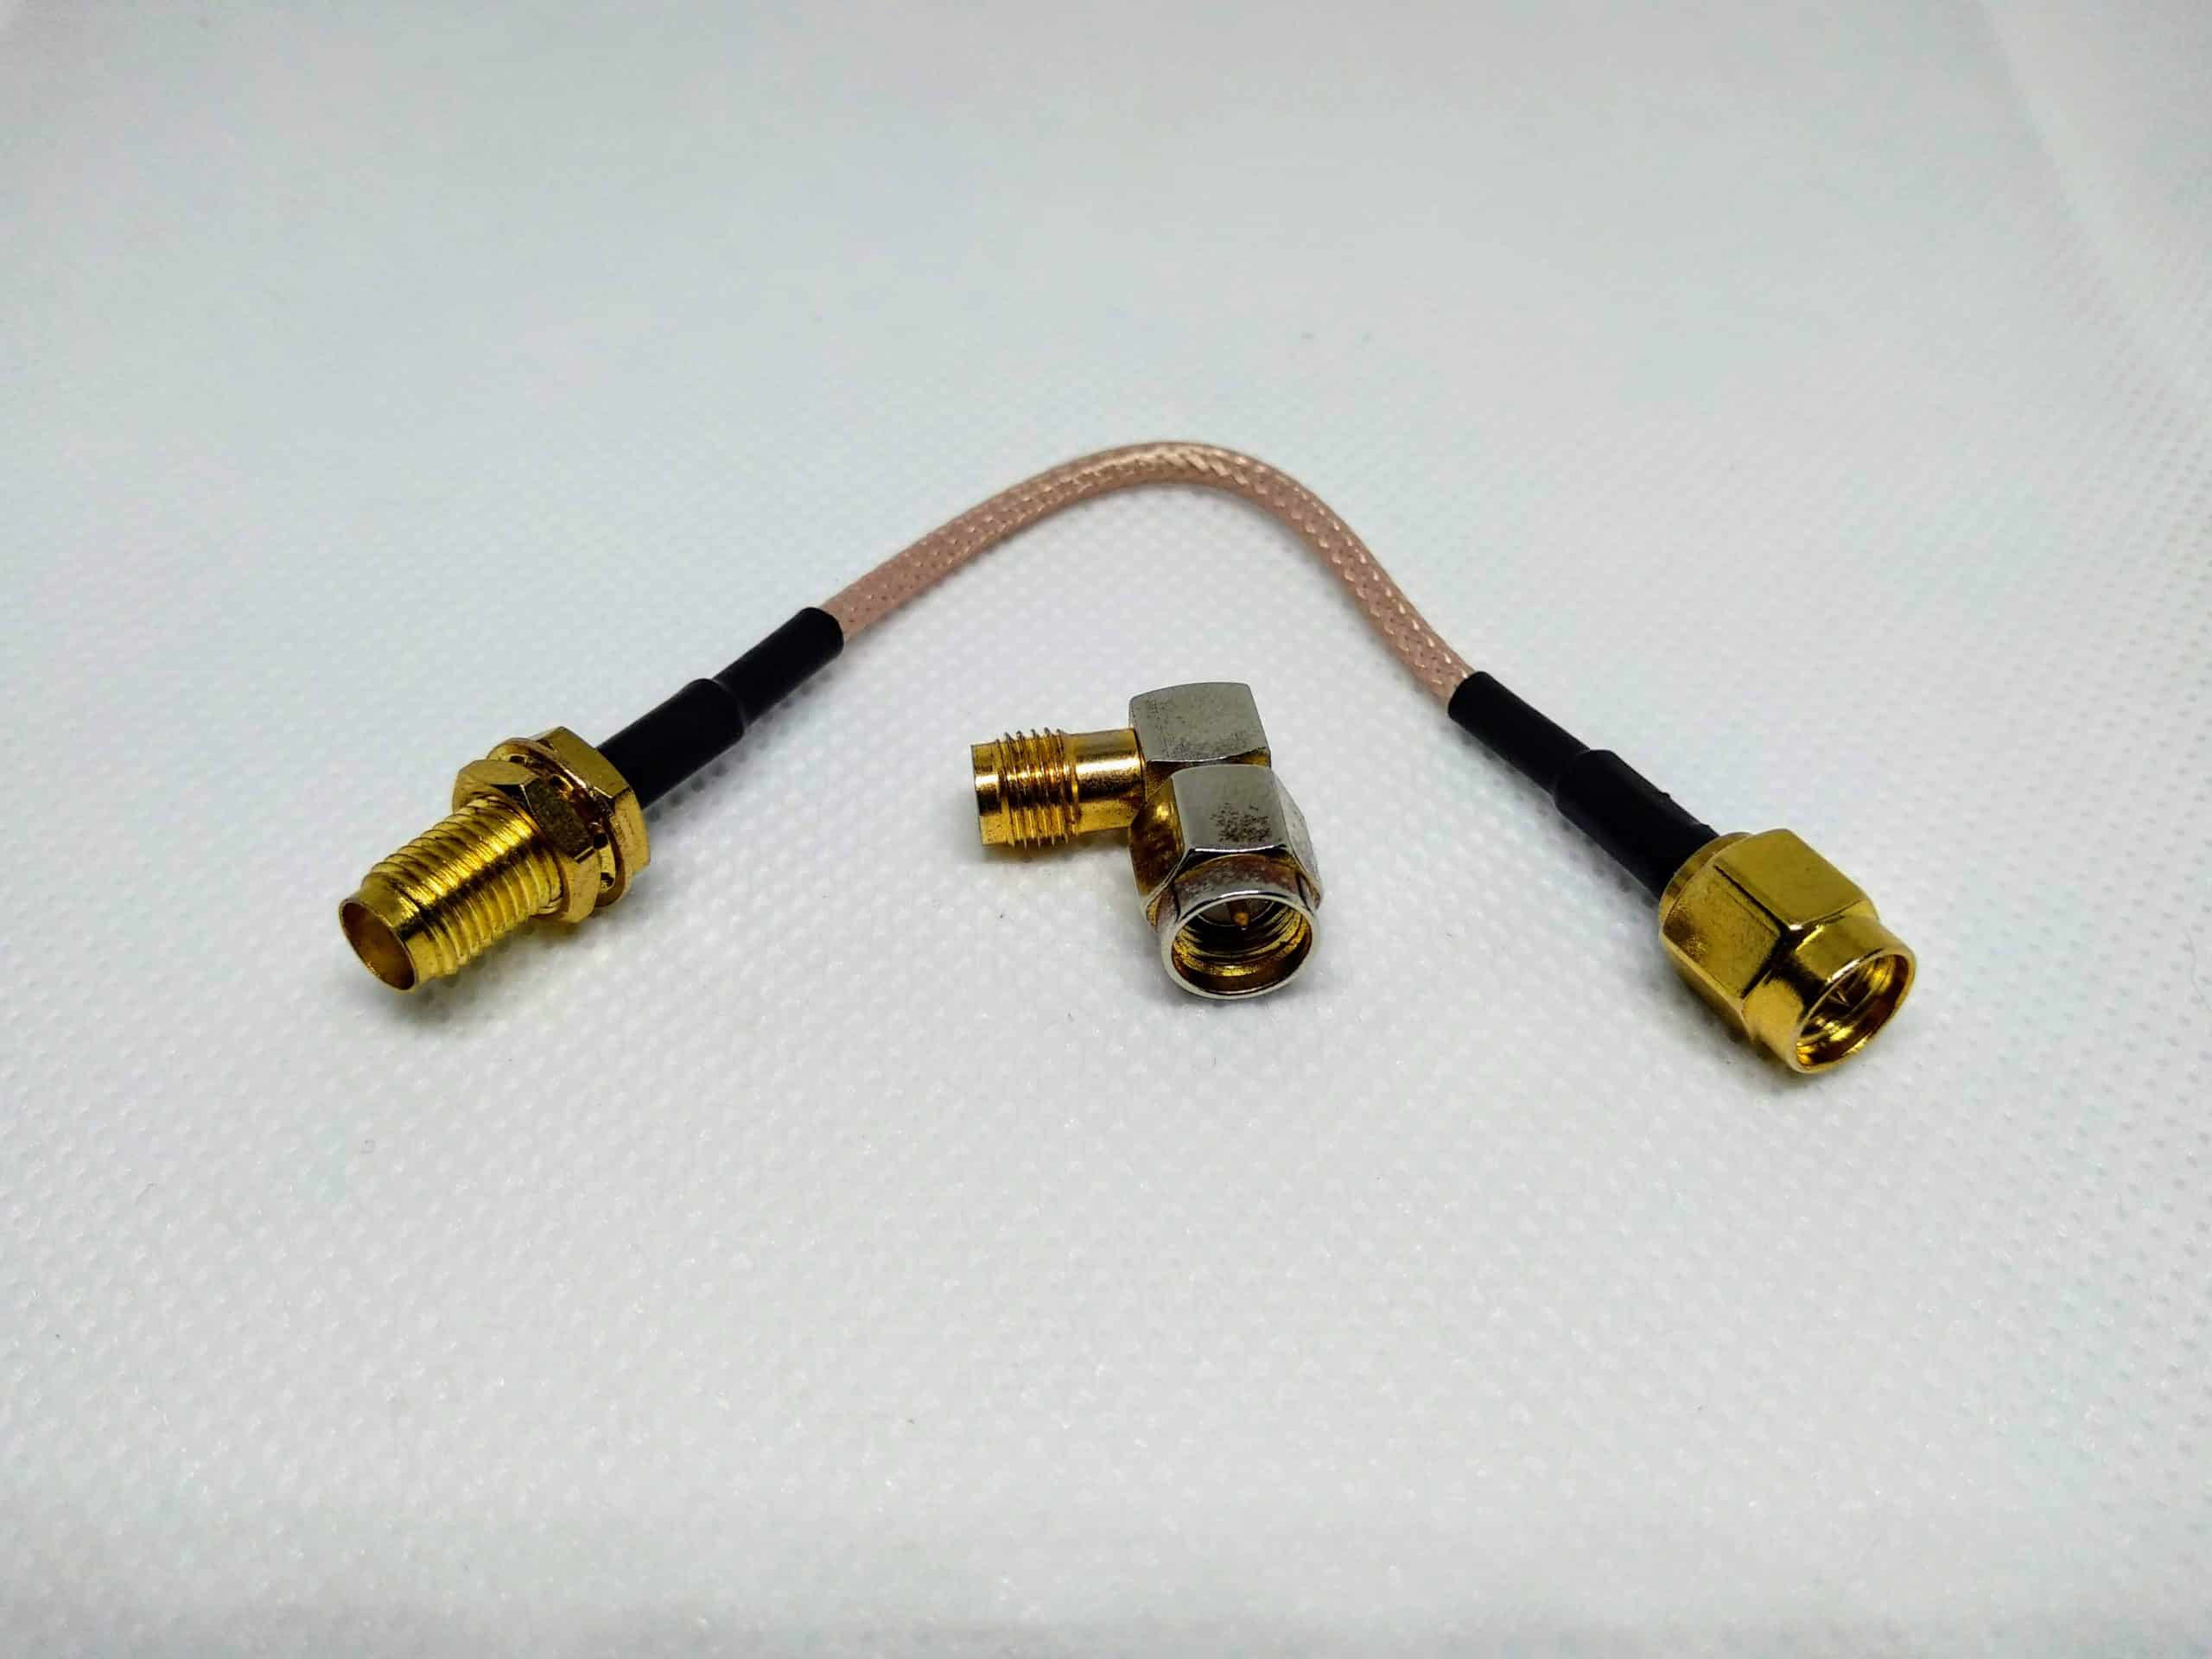
The aerial assembly is shown above, this is a 10 cm SMA male to female lead plus an SMA male to female right angle 90-degree adapter. These are available from eBay, Amazon and elsewhere.
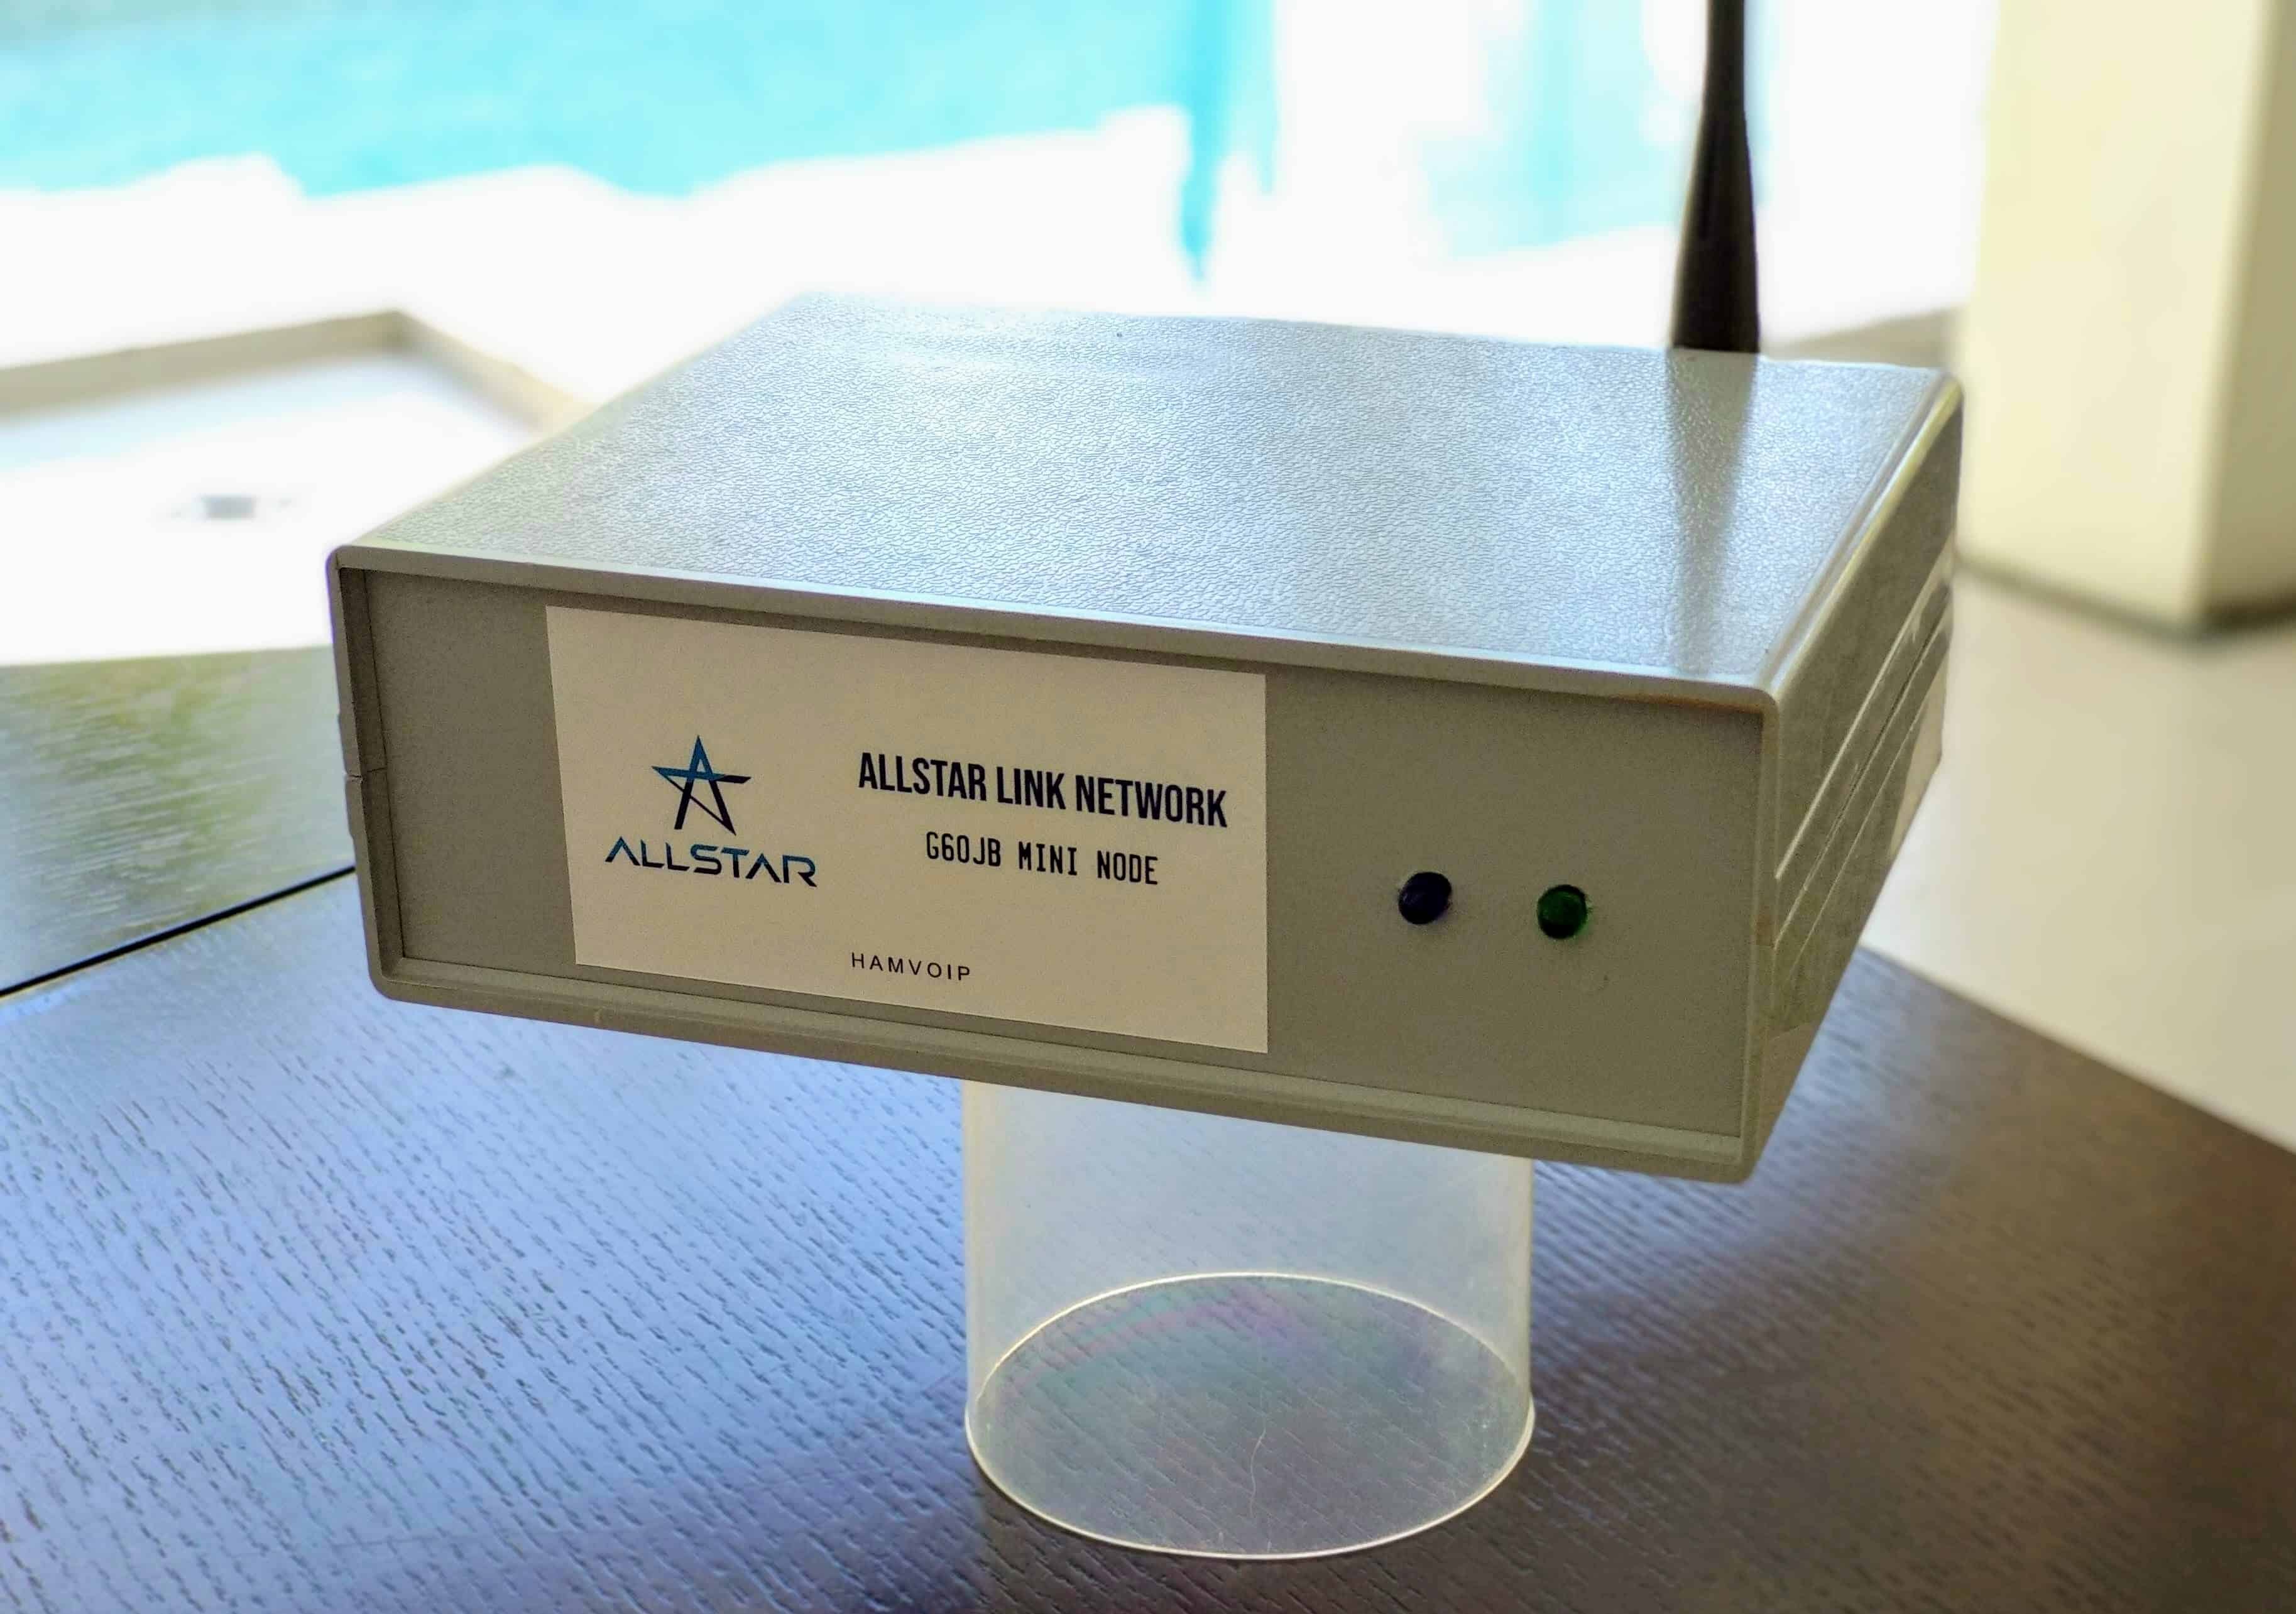
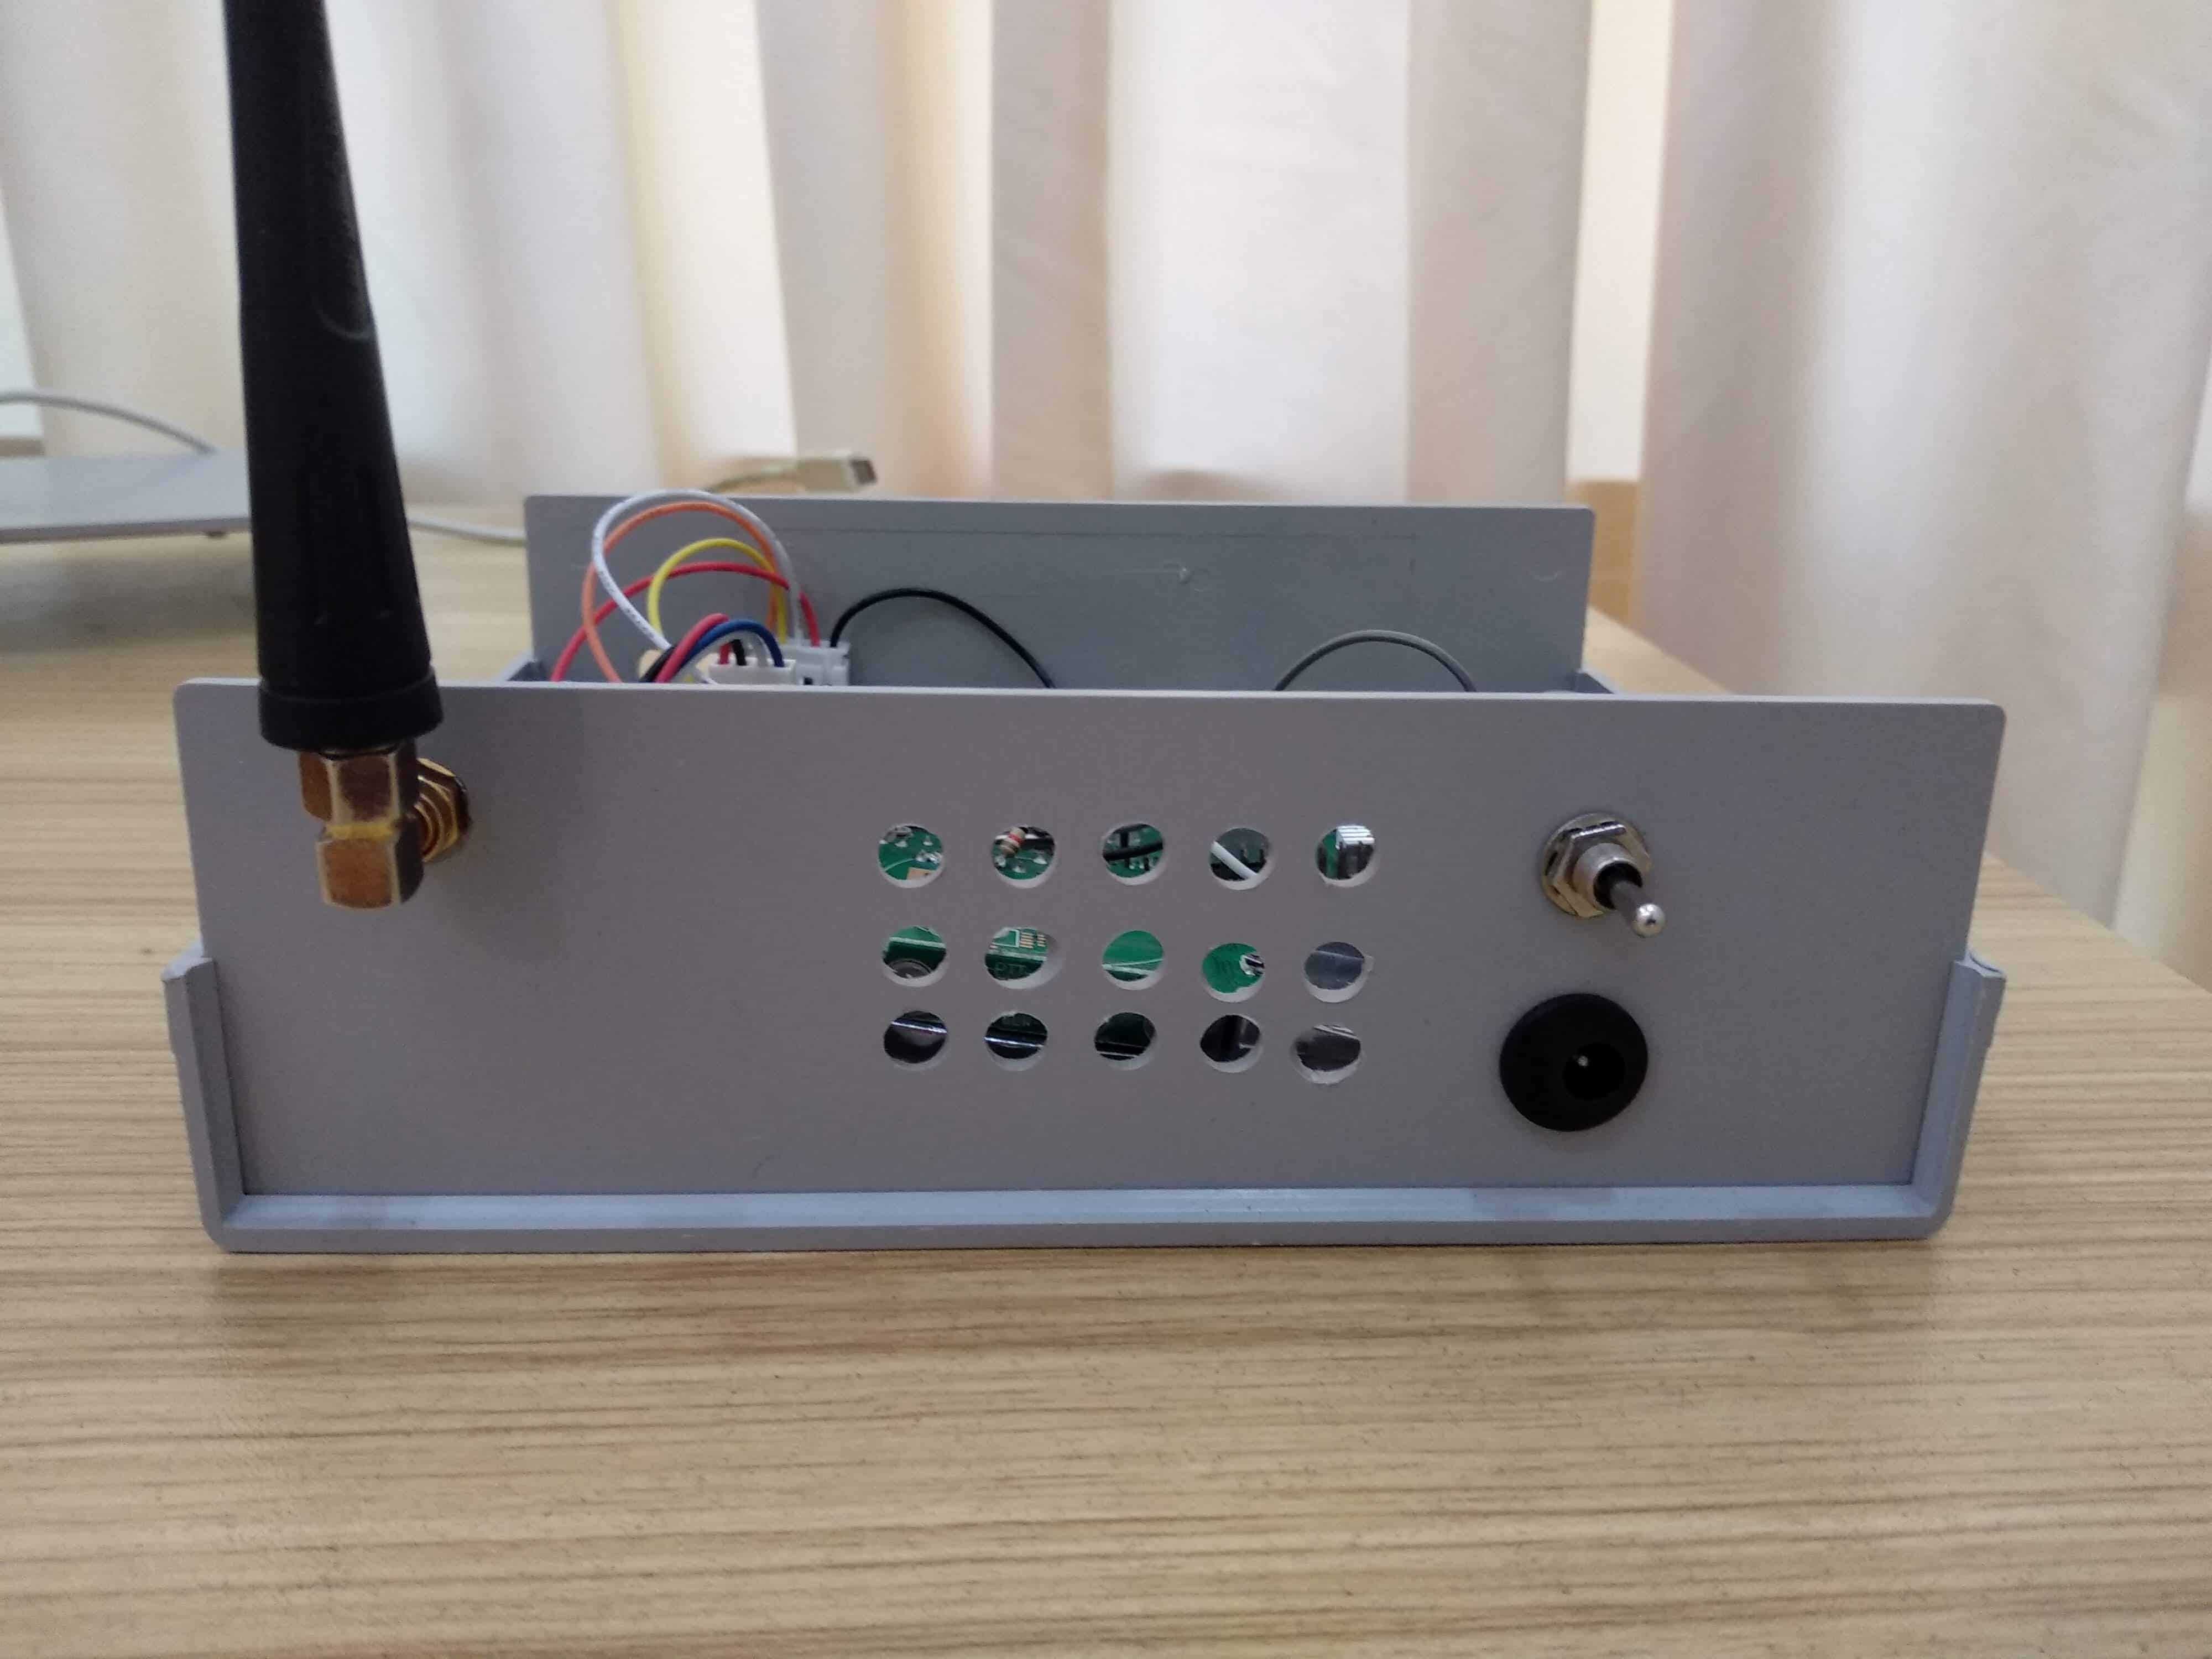
Rear view.
Front panel indicator lights.
Adding indicator lights on the front panel is a simple matter, please refer to my page which covers this in detail: LINK
Subtle changes occur in the radios and fobs from time to time, in some cases you may need to attach the thin yellow wire from the blue PTT LED to the other side of the 10K resistor on the same solder pad as the blue wire on the fob.
Construction details
Step One: Modify a Baofeng 888s radio as per the instructions elsewhere on this site.
Step Two: Modify a CM108 sound fob as per the instructions elsewhere on this site. Go for the surface mount version if you can.
Step Three: Set up a buck converter to supply 5v for the Raspberry Pi and put a 1N5408 diode { Or equivalent } in series with the positive power cable connected to the back of the radio will supply the necessary 4.3v. Details in our More Section in the top menu: LINK
Step Four: Connect the CM108 to the Baofeng 888s at the attachment points shown in the lower photo above. { The two resistors are both 10K. }
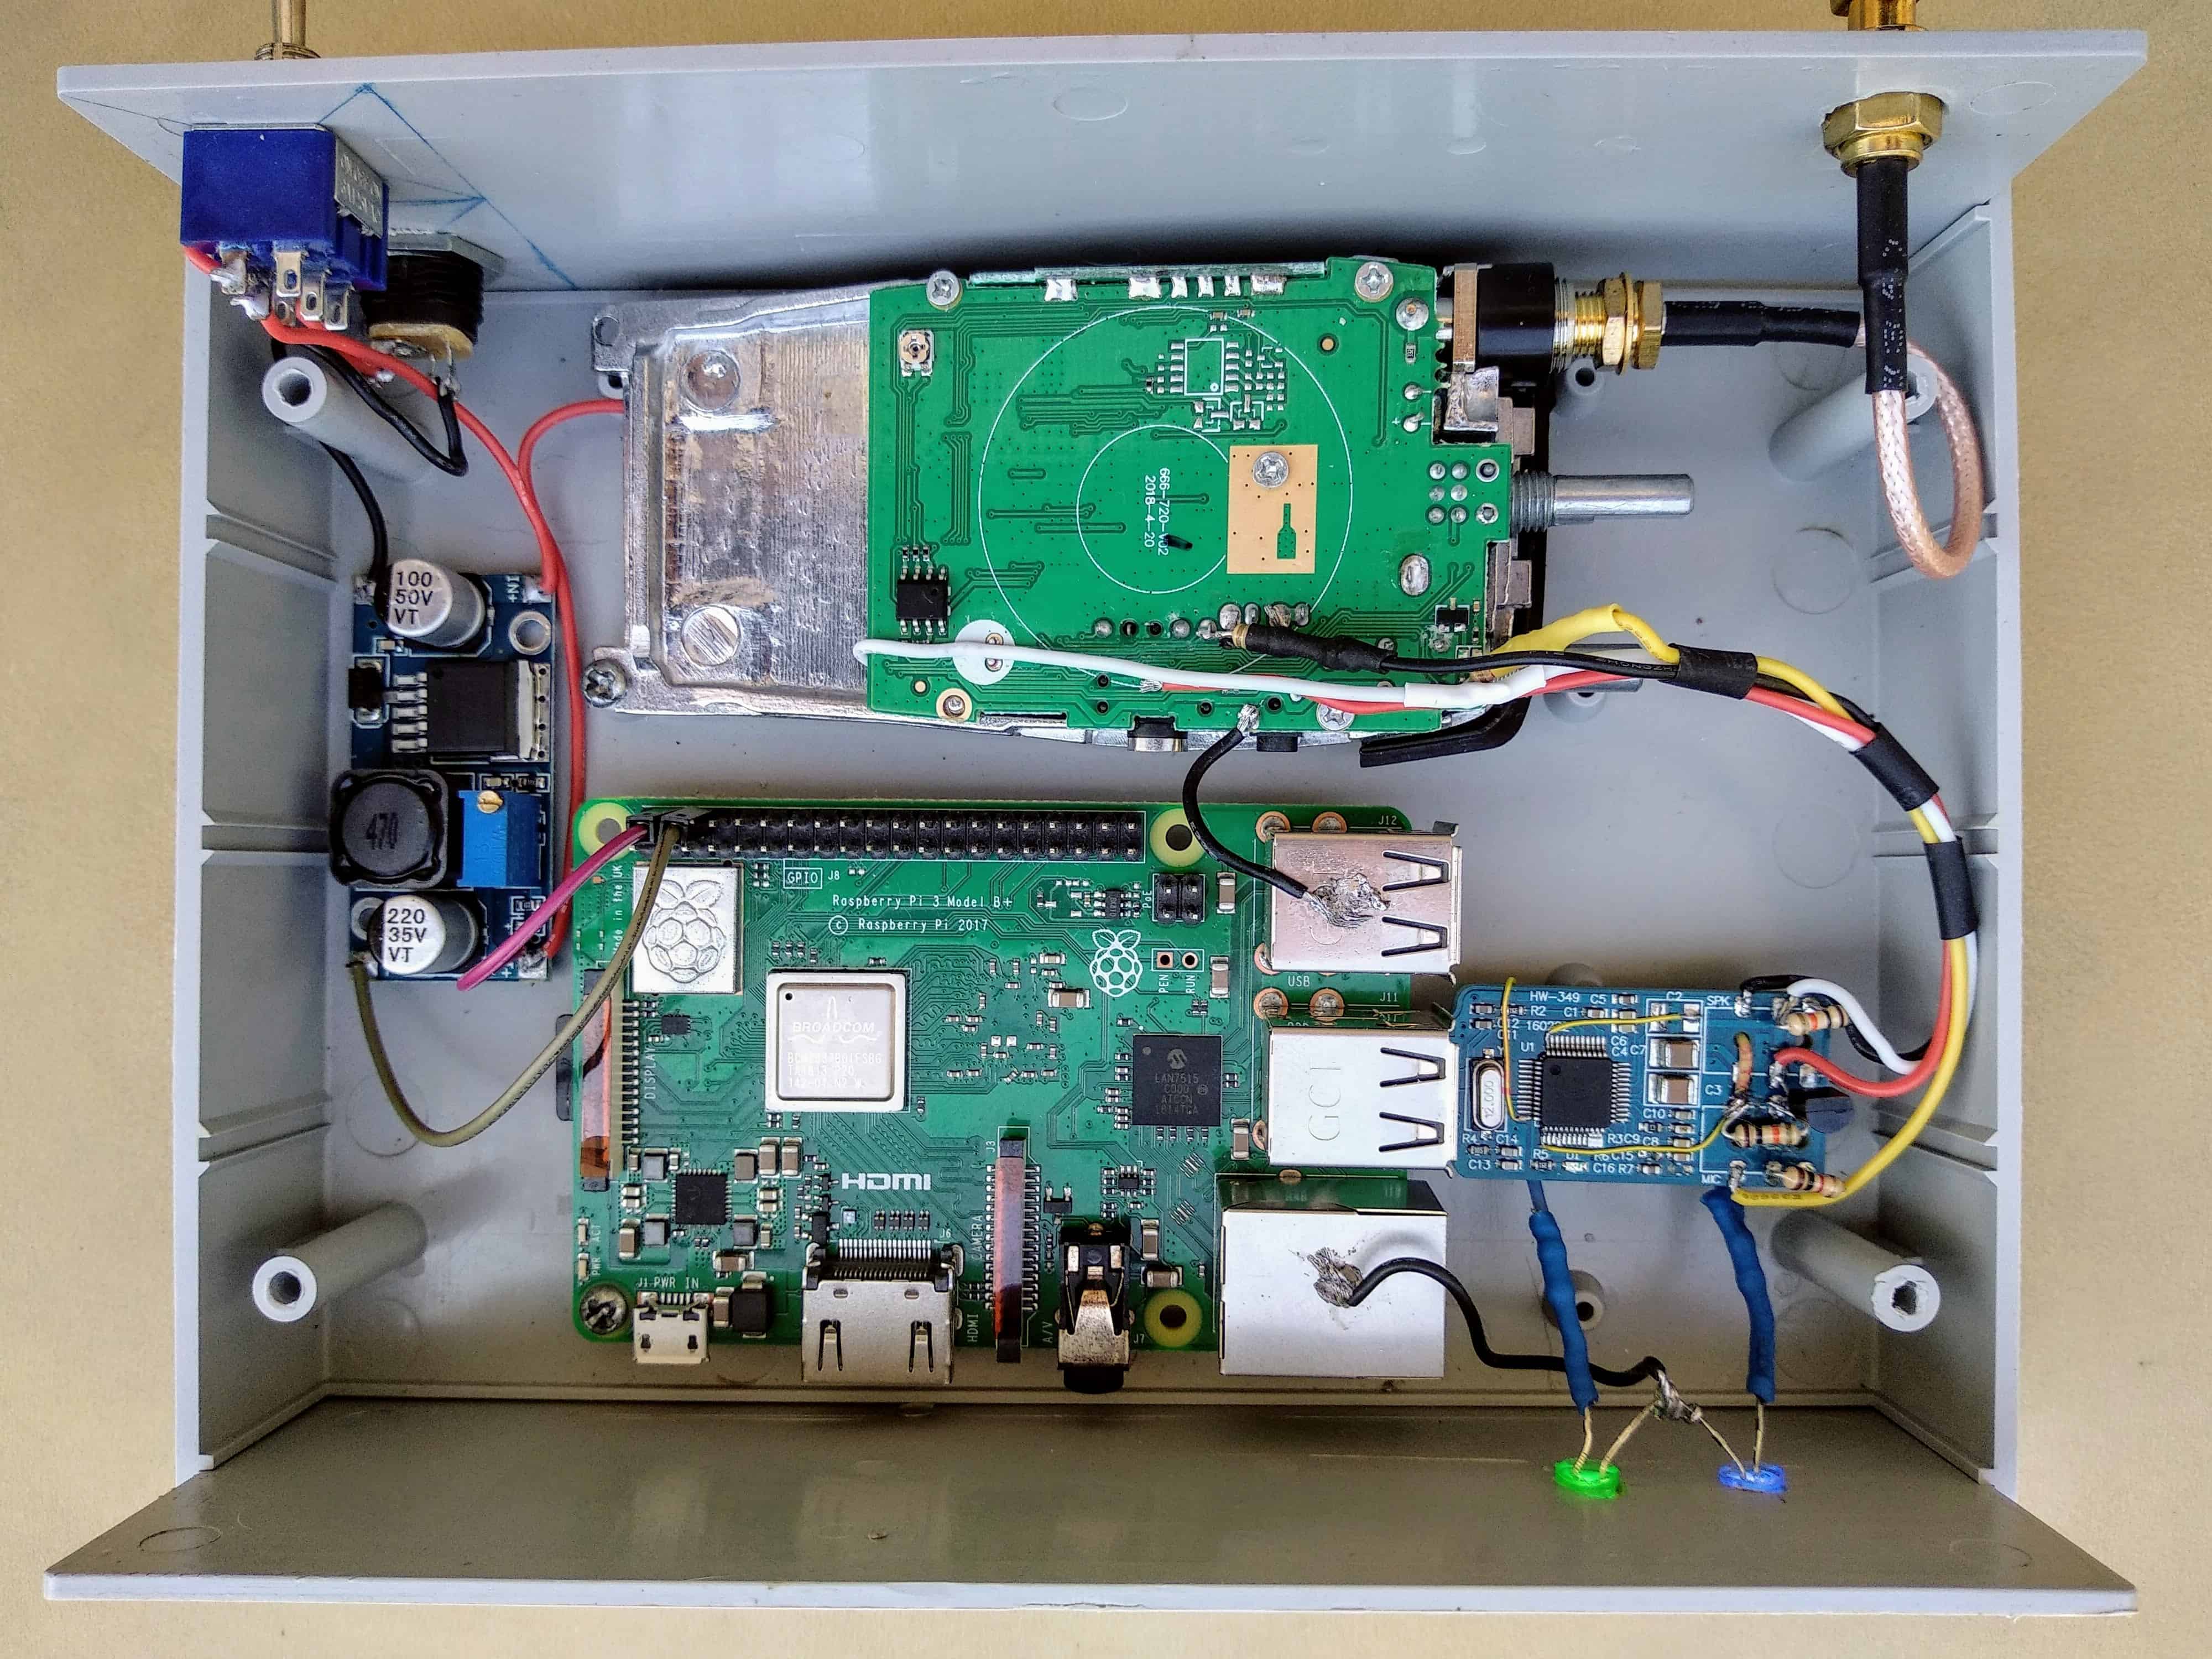
Step Five: Please refer to the top photo for your wiring details and your final assembly details.
This node is built in a plastic electronic project box { 130x170x55mm } from eBay.